

Pi-hole is an Ad blocker and works by blocking access to web resources, more commonly called a DNS sinkhole. Installing Pi-Hole on a Raspberry PI is quite straightforward as there is a script that will automatically install Pi-Hole for you.
The first thing you will need to do To Install Pi-Hole is open PuTTY (if you are using windows) or open a terminal session in either Linux or Mac, then connect via SSH to your Pi-Hole

When you have connected to your Raspberry Pi via SSH you will be presented with the login screen. log in with your Rasberry Pi username and password.
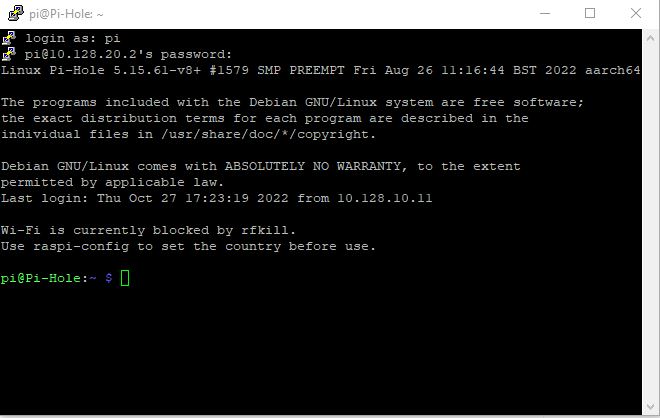
Before you run the script, you will need to have root privileges by typing this command in the Terminal on the Raspberry Pi
Type in the command below, and then the press enter key.
sudo suThis will give you the required access privileges to install the installation script, enter the command below, then press the enter key
curl -sSL https://install.pi-hole.net | bash
The process to Install Pi-Hole
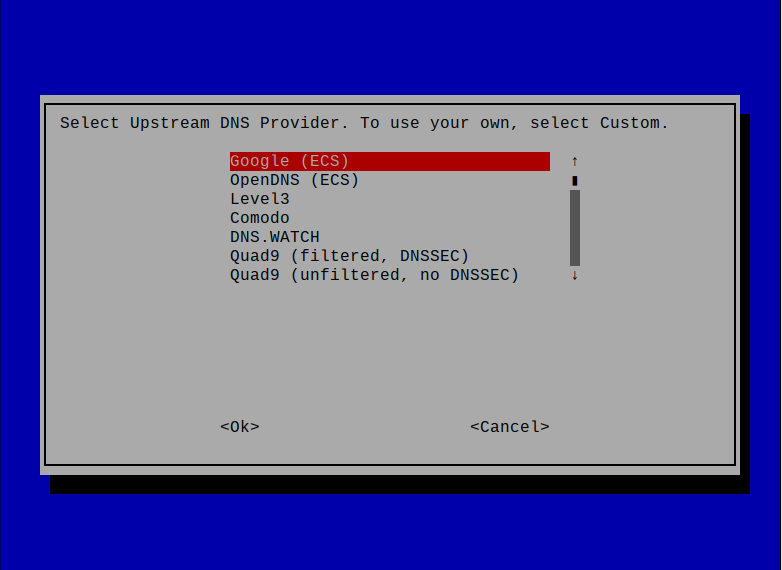
You will be asked to configure a few different settings. The first step is to configure your upstream DNS provider (the DNS Server) Pi-Hole will use.
In this example, I will use Google, but this step is entirely up to you which one you choose.
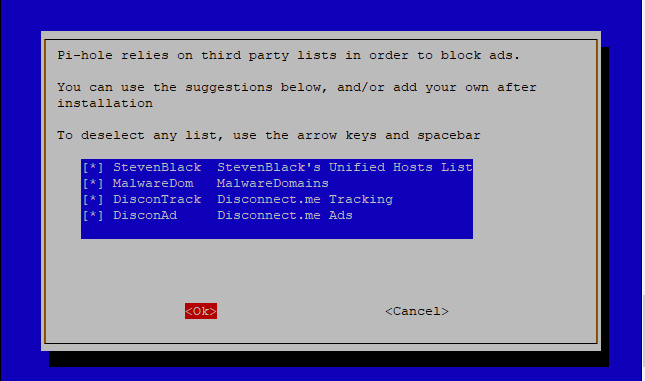
Pi-hole will now prompt you with lists that you can subscribe to, each list will contain hundreds if not thousands of domain names (website addresses) to automatically block access to, which serve ads.
Blocking content is the whole point of installing Pi-Hole, I would suggest that you select all of the default lists.
If you’d prefer not to use all of the lists I would recommend at least selecting the first one (SteveBlack), you can add or remove other lists as required after Pi-hole has been installed.
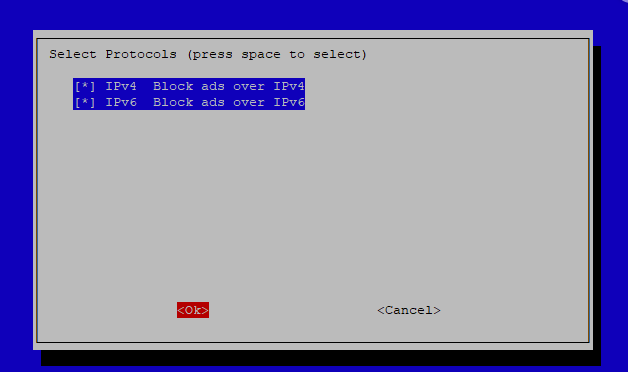
The next step will ask you if you’d like to block adverts on IPv4, IPv6, or both. in nearly all cases you will always select IPv4 you don’t have to enable IPv6 blocking, Personally, I don’t as my network does not use it, but you can if you want to, this is a personal preference.
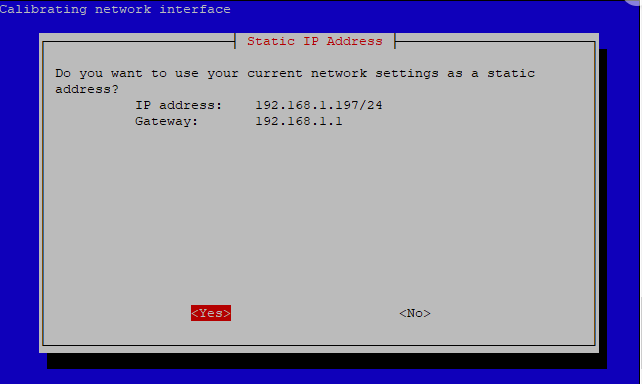
IP Address Setup
When you first installed an Operating system onto your Raspberry PI, if you were able to assign it a static IP address, or you set up an IP address reservation on your router, you can select Yes for this next step.
But if you weren’t able to do this, you are now given the option to create a static address directly on your Raspberry Pi itself rather than in your router settings.
While this option is available here, it’s not a recommended course of action to take, as there is the possibility that your router will still try to assign this address (that’s currently assigned to your Raspberry Pi) to another device on your network, This will create a network conflict.
So, if you set a static IP address here, you should also assign a DHCP reservation for your Raspberry Pi on your router, so that your router doesn’t try to issue your Rasberry Pi’s IP address to another client.
If you want to change the address press No. If you would like to use the IP address shown, press Yes.
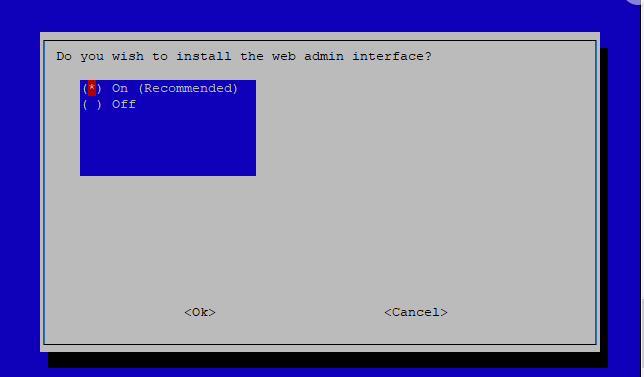
Now on to installing the Interface
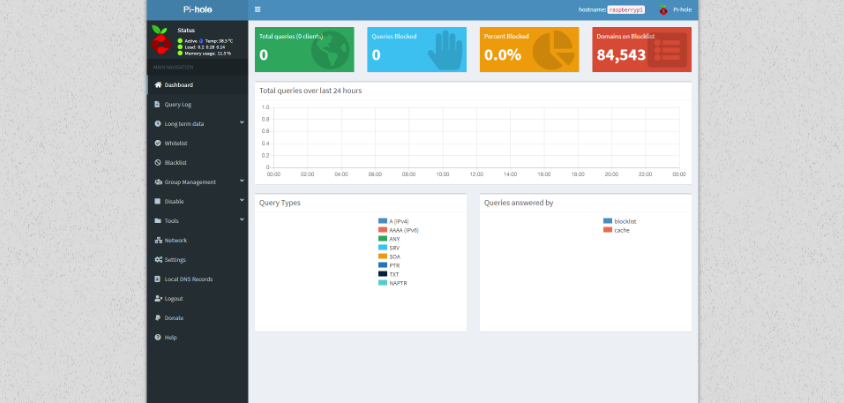
You will now be asked to install the web admin portal. I highly recommend that you do this, the web interface is incredibly easy to use and is easier to get to grips with than using the terminal, but you also have the option of managing everything through the terminal if you’d like.
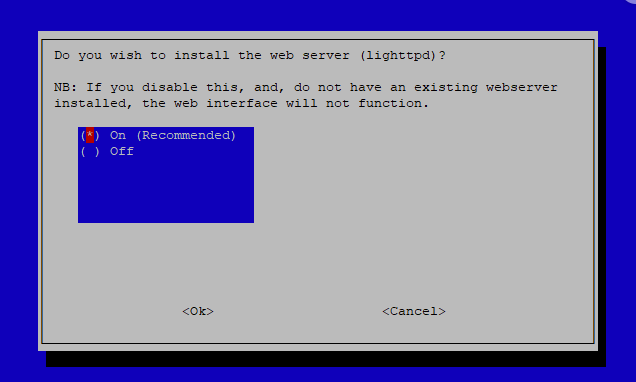
You will then be asked to install the web server (Lighttpd) this is required to show the web admin interface, so select (On) recommended.
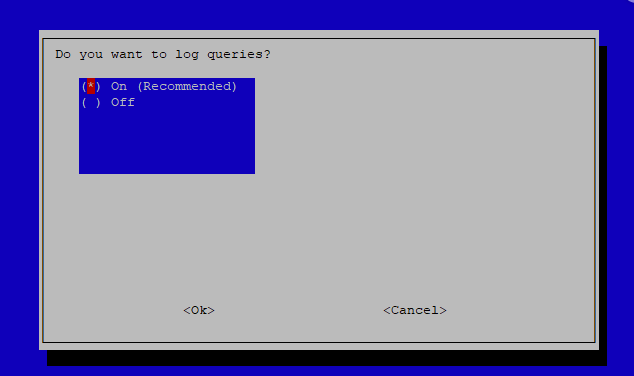
Next is the option to log queries. this setting is up to you, but I select this option as It’s good for troubleshooting, but this setting is entirely up to you.
Next after setting your log preferences, you can now select the level of detail you’d like for your domain searches. this is again down to personal choice, level 0 the default setting will show you everything.
This is now the final step in configuring Pi-Hole, After this is set it will install Pi-Hole.
Now all that’s left to do is to change the default Pi-Hole password, to do this type the following into your raspberry Pi’s terminal window.
pihole -a -p [YOUR PASSWORD]Change [YOUR PASSWORD] to whatever password you want to set, without the brackets, for example
pihole -a -p mypasswordYou do not have to re-boot your Rasberry Pi, but I always do after installing it, to connect to the Pi-holes web interface simply point your browser to:
http://pi-hole.admin or http://your IP address/admin
Nearly Finished
All that’s left to do now is to tell all your network devices to use your Pi-Hole as their DNS server.
The best way to do this is via the DHCP settings in your router, change the DNS IP address your clients are given to your Pi-Holes IP address.
Restart your client devices and you should see that the Pi-Holes web interface starts to show all the queries that it has either blocked or allowed.
Pi-Hole is a fantastic bit of software, it’s open-source, and It’s easy and quick to Install Pi-Hole I love it, it’s amazing to see how many queries get blocked, it’s a real eye-opener.


Leave a Comment