

My office needs have grown over the last few months, and I’ve found myself looking at server racking to hold some rack-mounted kit for my home lab.
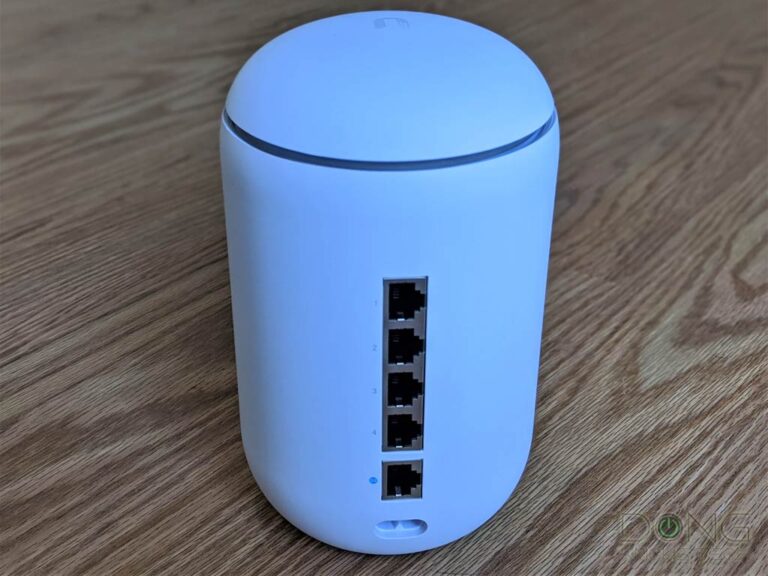
I’ve been happily using my UDMB since its initial release, and I have to say that on the whole, it has been fantastic, but recently I have been wanting to expand and have been looking to invest in some rack-mounted servers, for use with Proxmox.
Because of this I started to look for a server rack in which to place them, but after looking about I couldn’t find anything that fitted my needs, I wanted something that would fit alongside my desk and offer some sort of soundproofing, so I decided to make my own.
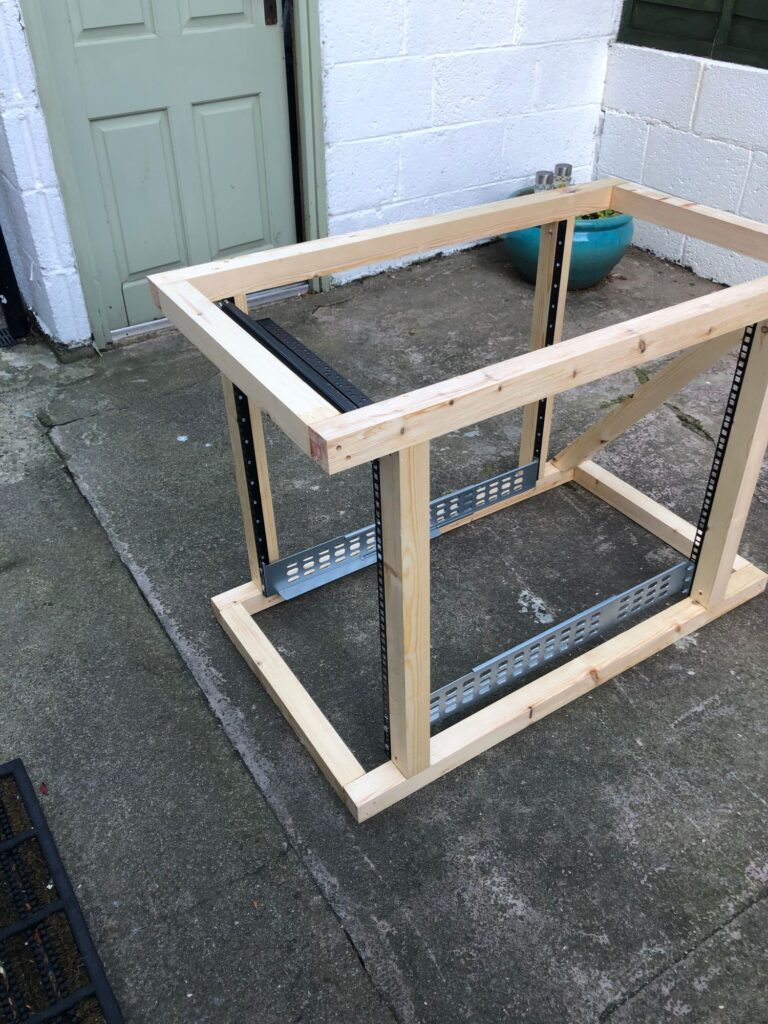
Using some spare wood that was lying about I started to make a frame out of 2″ x 2″ battens, the rack rails were placed 725mm apart to fit a full-length rack shelf I had. The overall length of the rack is just over 1000mm so its able to hold a full-length server. I removed the diagonal baton at the rear of the rack after the wood glue had completely dried.
I painted the wood black and after test fitting with the shelf and an old Powervault TL200 Tape library, which I plan to use for backups, I was happy to continue with the sides and top.
I painted the wood black and after test fitting with the shelf and an old Powervault TL200 Tape library, which I plan to use for backups, I was happy to continue with the sides and top.
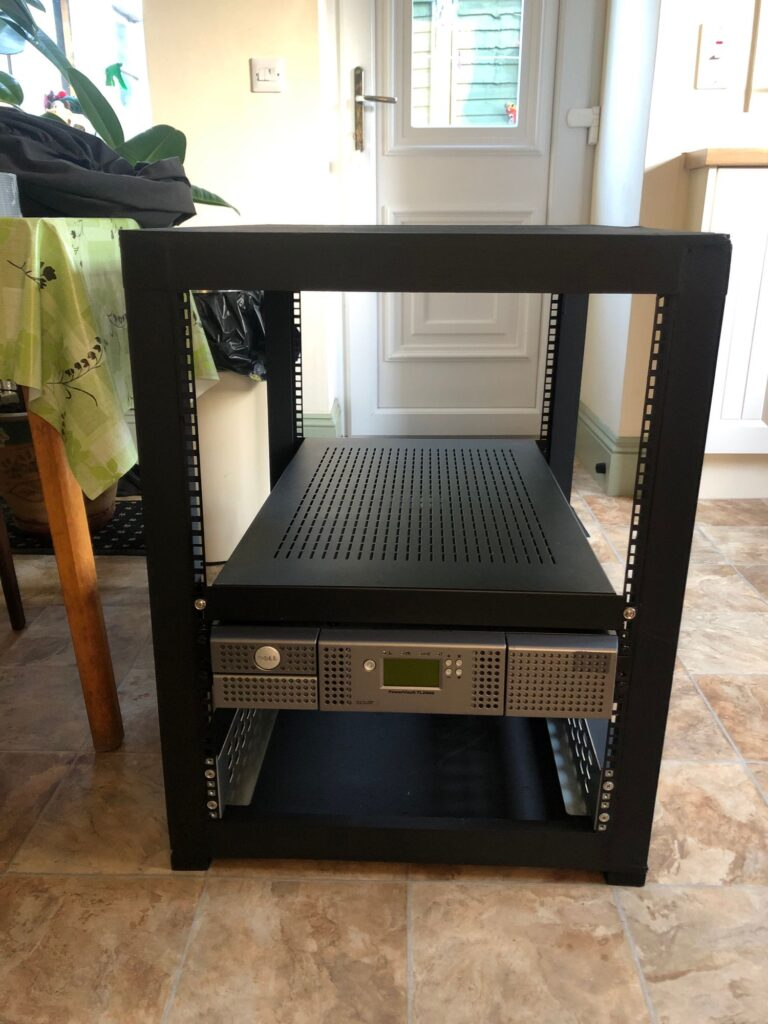
The sides and top were cut from a sheet of 6mm Plywood, Ideally this should have been a thicker sheet, but this was all I had to hand at the time, I may replace these with 12mm in the future.
Onto these, some fire retardant foam was added which will hopefully help to reduce any fan noise from the servers when these arrive.
The top, bottom, and both sides had the foam applied, which is just short of 2″ deep, with the exception of the bottom, where the foam blocks were cut in half so they would allow the UPS rails to go into the First “U”
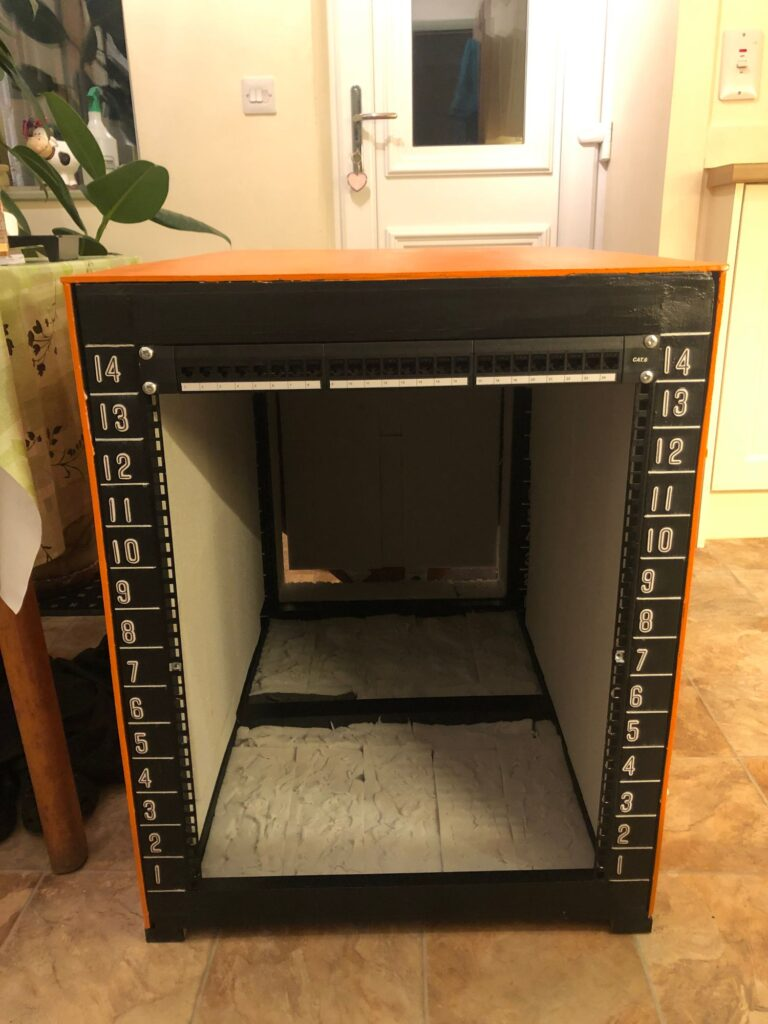
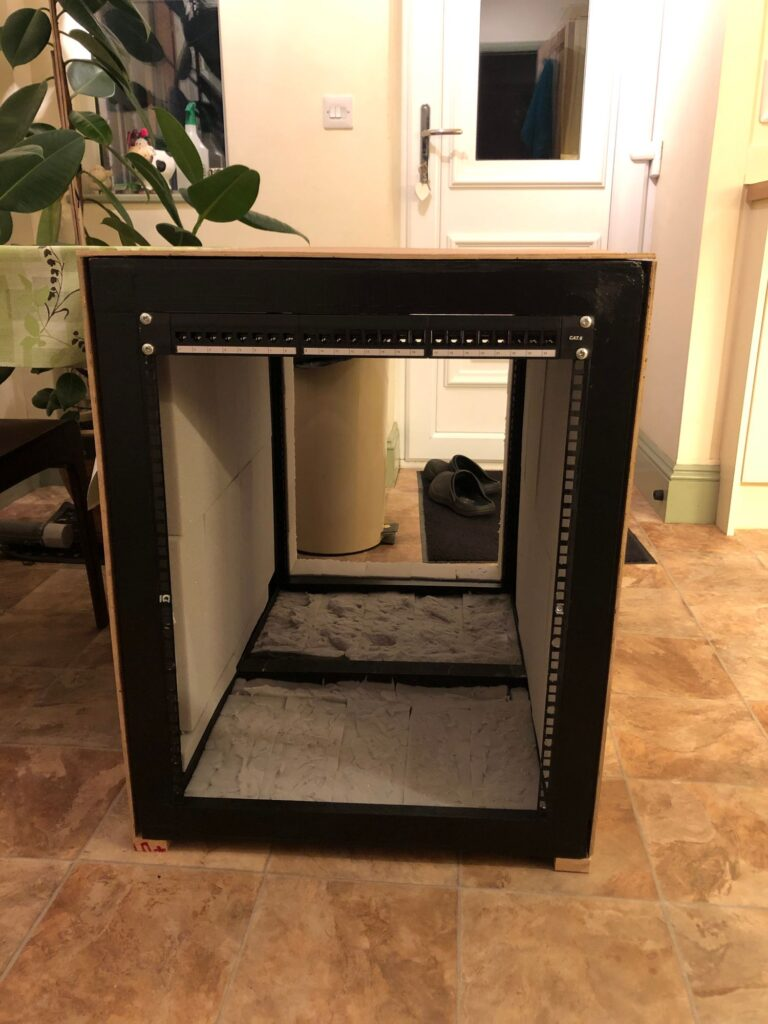
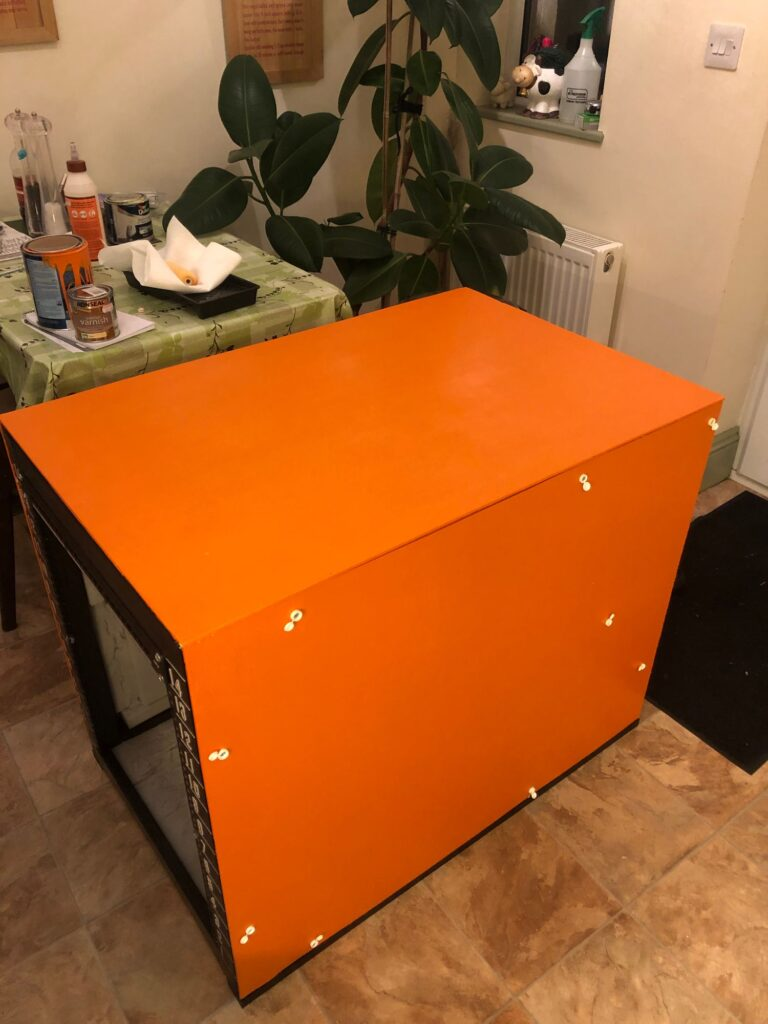
I wanted to paint the rack, and for some reason decided on the brightest colour I could find, and went with bright orange! I made a back for the unit and applied the foam in the same manner as to the sides.
Whilst test fitting the tape unit and shelf, it soon became apparent that without the “U’s” numbered, lining up the shelf was very hard, so I purchased some number stickers and a whiteboard pen and set about numbering the U’s on both the front rack rails and the rear ones.
This massively helped when adding the shelf and the tape unit rails. the numbers had a few coats of matt varnish applied to stop them from falling off over time.
To make life easier the sides are screwed on and covered in screw caps to hide the screw heads, overall I’m really happy with how it turned out, so I decided to paint my office desk to match.
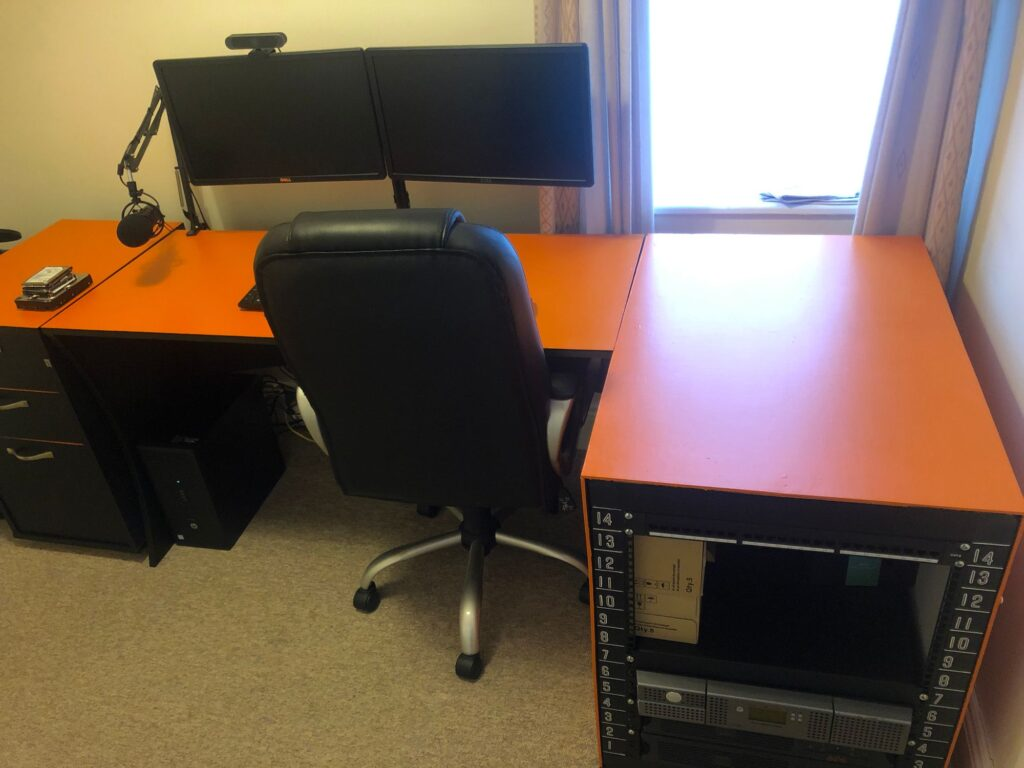
I think it looks much better than if I had just painted everything black, what I am most amazed by, however, is that I totally forgot to measure the height of my desk, to which this rack was going to be placed beside.
I couldn’t believe it when I set everything up, that it was exactly level with the top of my desk 😁
currently, the rack holds
- 2 x Smart 2000 APC UPS’s
- 1 x Dell Powervault TL 2000 Tape unit
- 1 x Full-length rack shelf
- 1 x 24 port patch panel
This still gives me enough space to locate the server and most certainly a Dream Machine Special Edition, along with some new access points and switches.
I could fill this rack twice over with all the stuff I’ve been looking to get, I only hope that 14U is going to be enough, time for my credit card to smash Ubiquiti’s store.


Leave a Comment